


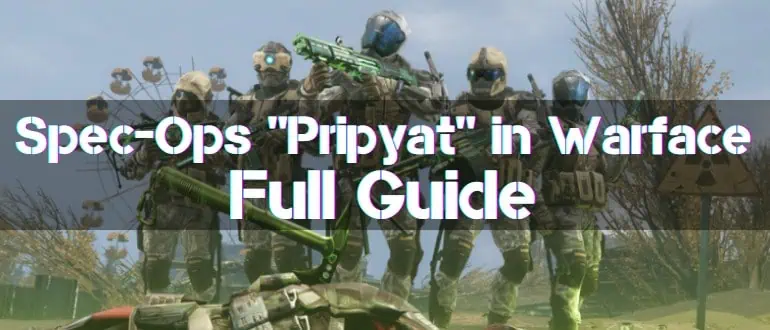
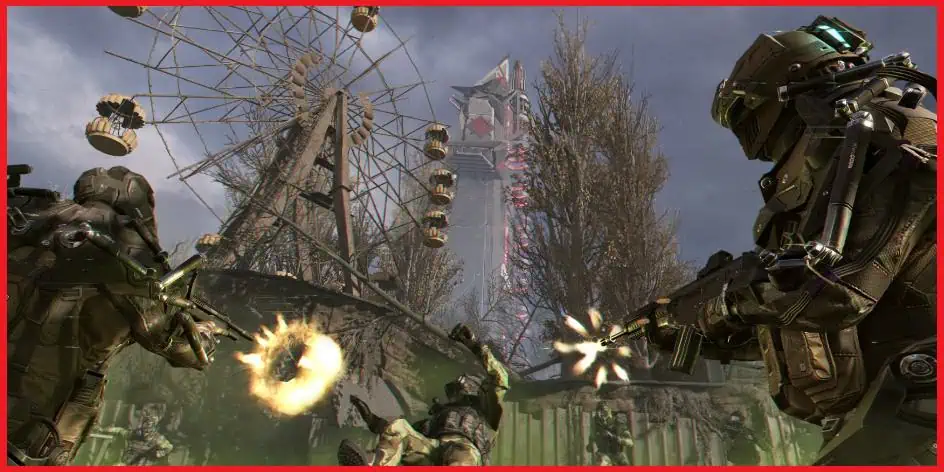
Since December 2017, players of the popular multiplayer first-person shooter have been able to pass a unique cooperative mission in the city of Pripyat (Ukraine). This allows them to immerse themselves in the atmosphere of the Chernobyl disaster and earn excellent rewards. Let’s look at the particular operation “Pripyat” in Warface, including available gifts, achievements, and a detailed mission guide relevant to 2026.
Gifts and Rewards
First, you should pay attention to the rewards for passing special operations. Players often pass them to boost their profiles and obtain unique equipment.
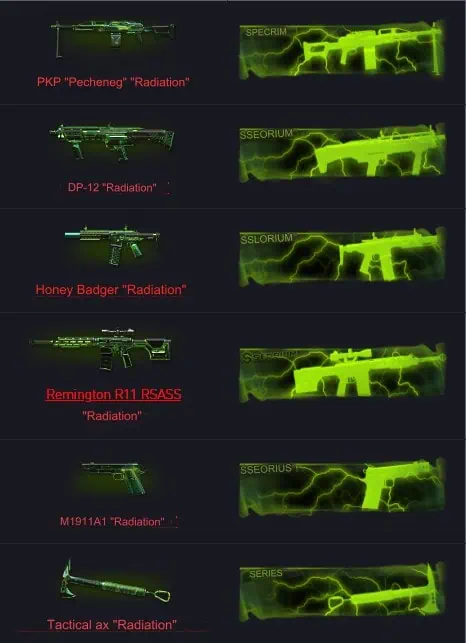
In conjunction with the event, a new camouflage, “Radiation,” for some weapons, was added to the game. Depending on the difficulty level and the fighter’s luck, it will be given to the task winners.
Weapons can be obtained separately, together with the camouflage or the skin itself. In the latter case, along with it is given and the weapon itself with a trial period of one day.
More detailed table of awards for special operation “Pripyat” in Warface:
| Difficulty level | Guaranteed prize | Prize with a chance of falling out |
|---|---|---|
| Easy | tactical axe without camouflage for 6 hours | camouflage for tactical axe |
| Normal | m1911A1 pistol without camouflage for 24 hours | camouflage for the M1911A1 pistol |
| Hard | one of the remaining primary weapons without camouflage for 2 days | camouflage for one of the remaining significant weapons |
In addition, players can earn combat experience, warbucks, and additional rewards by completing the mission at different difficulty levels, which determines their amount:
- Easy:

- Normal:

- Hard:




Pripyat Special Operation Achievements

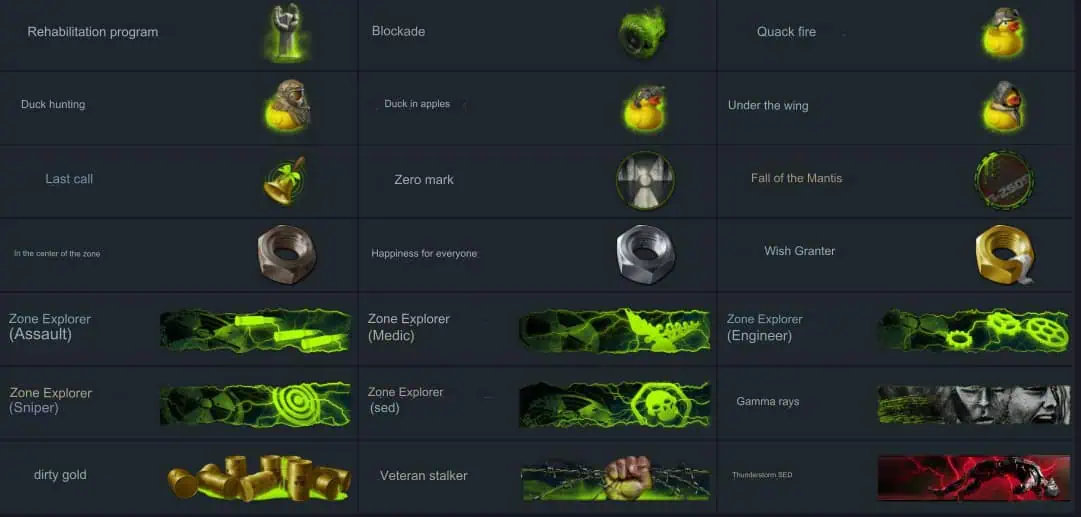
By playing Special Operation Pripyat, you can earn some achievements in the form of badges, tokens, and patches:
- Badges:
- “Rehabilitator” – replenish allies with 5 thousand health points in total;
- “Roadblock” – destroy 5 units of enemy APCs;
- Secret badges with secret conditions for obtaining them:
- “Quackressing fire”;
- “Duckshot”;
- “Duck in the grass”;
- “Duck and cover”
- “Dead Ringer”
- Tokens:
- “Ground Zero” – Receive 333 Skullcrusher Orders;
- “Mantis Down” – eliminate “Mantis” on any difficulty level;
- Secret tokens with secret conditions for obtaining them:
- “Center of the Zone”;
- “Happiness for everybody;
- “The Golden Ball”.
- The patches:
- “Center of the Zone” – complete a special operation on the “Hard” difficulty for a certain class (different patch for each);
- “Gamma Rays” – get 222 orders “Two at once!”;
- “Dirty Gold” – eliminate 5,000 enemies using gold weapons;
- “Elite Stalker” – complete a special operation on the “Hard” difficulty without using return signs;
- “SED Exterminator” – eliminate 20 enemy SED units on the “Hard” difficulty.
Tasks and Missions
Operation Pripyat is divided into three major acts. According to the plot, Warface scouts become aware of the new plans of the enemy group Blackwood, which are somehow related to Chernobyl. A group of agents lands in the exclusion zone to investigate and thwart the enemies’ plans.
Briefly, the list of tasks facing players in “Pripyat” is as follows:
- Investigate the first building (school) with the Blackwood ambush.
- Transfer the team’s dislocation to the pool area.
- Deflecting waves of enemies and setting up C4 to evacuate the building.
- Traveling through the radiation dose to the Blackwood barracks.
- Destroying all enemies in this dislocation.
- Find the SED production bunker and clear it out.
- Find and climb to the top of the Blackwood Tower in Pripyat.
- Capture the tower and destroy the main boss – Mantis (combat flying fortress).
General Tips for Passing the Special Operation
Before the first launch of the special operation “Pripyat” with friends or alone, it is recommended to familiarize yourself with the list of general tips that will significantly facilitate the passage even on the highest difficulty level:
- it is better to play only in a team with good communication to distribute positions and exchange information with allies quickly;
- the most balanced team composition is 3 stormtroopers and 2 medics;
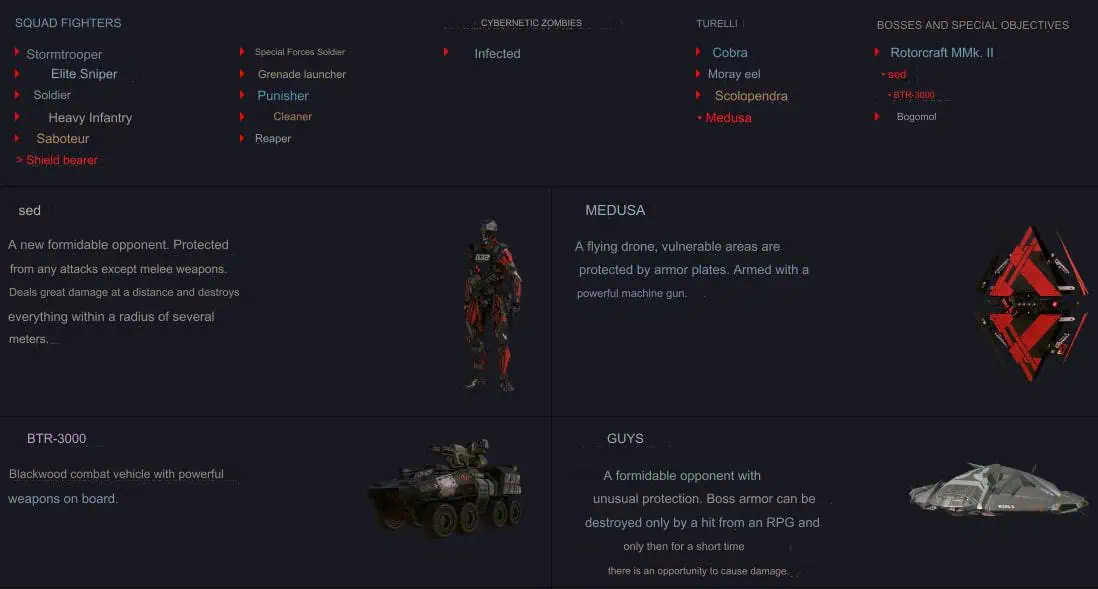
- study in advance the types of opponents in the special operation, their weaknesses, and strategy for elimination;

- Recommended equipment for players:
- elite helmet for crowns;
- combat vests for Warbucks;
- s&W Survival Tanto knife;
- kevlar gloves;
- stun grenades and gas grenades;
- first aid kits;
- defibrillators;
- ammo boxes.
Step-by-Step Guide of Special Operation “Pripyat”
Below is a detailed walkthrough of the special operation with tips for each act and task.
Stage I: School, Pool, and Department Store
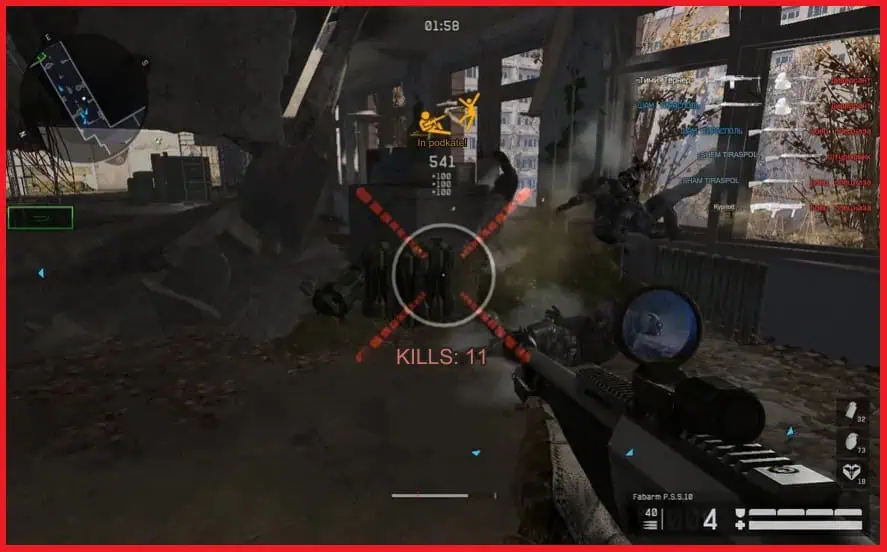
The mission starts with the main characters landing on the roof of one of the abandoned schools. They must pass through the building, defending against waves of enemies. This stage is used only for introduction and familiarizing players with the plot, so there should be no problems with opponents here. Sneaking through the offices is enough to eliminate enemies evenly and carefully.
In one of the corridors will appear not only hostile Blackwood agents, but also infected zombies. It’s enough to take cover and get rid of them with a barrage of fire. Medics also use shotguns to fight them off and heal allies when necessary.
The next checkpoint is in the school gymnasium. As in the previous hallway, it is enough to take good cover with the whole team and fight off all the waves of enemies. New enemies appear here as flying drones, “Medusa,” flying into the building through holes in the roof. Positioning yourself directly under them is recommended to eliminate new enemies quickly.
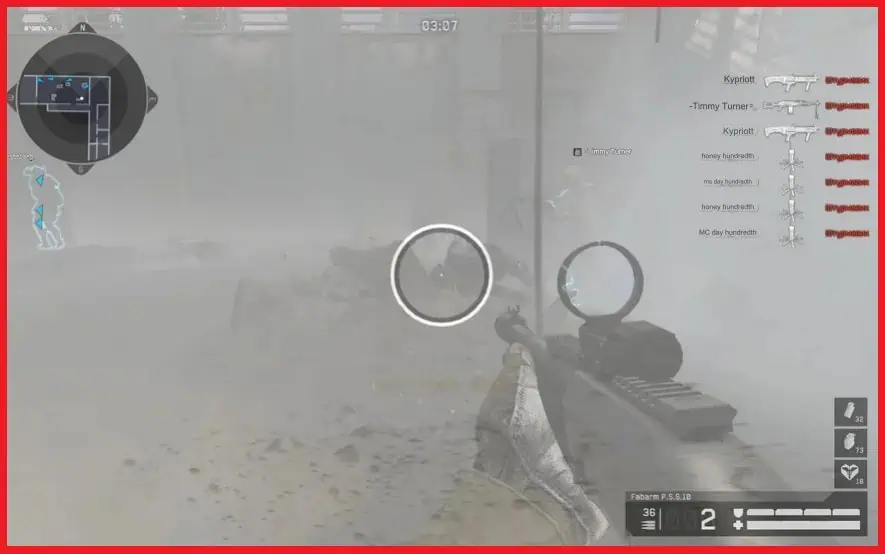
The swimming pool is the first location of the first act. This is the first difficult place; many beginners leave their attempts here. First, you must bypass several punishers, turrets, and waves of simple enemies. Use the street shelters for protection.
After entering the second building, you need to go to the second floor to the room with the pool. First of all, here, you need to distribute the positions between the team properly:
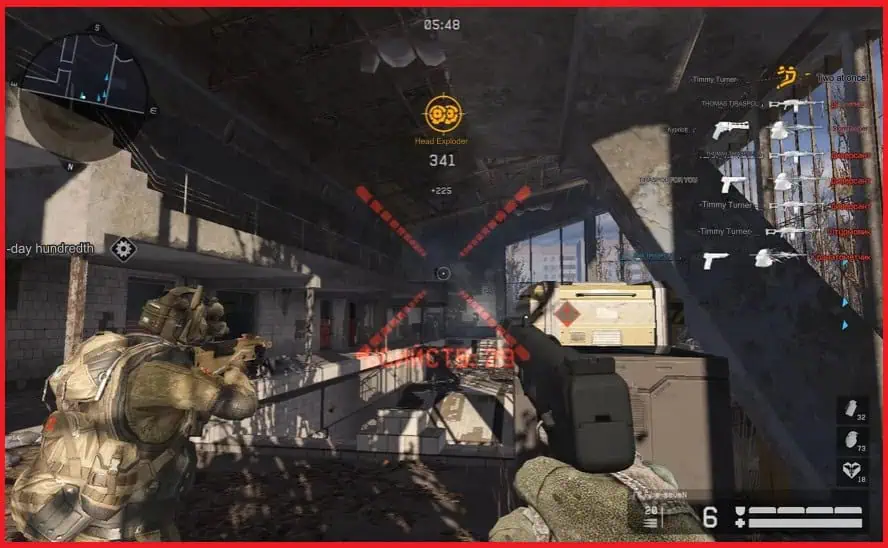
- Most of the team takes cover behind the large crate on the left side of the entrance. Two stormtroopers, who will control the room’s left and right sides, and a support medic are placed here.
- One player takes cover under the stairs in the center part of the room to hide from enemies and be able to target them in the head.
- The last player occupies another crate to the right of the entrance. This is where the most difficult enemies will break into the room; they must be eliminated before entering, so the position is for the most effective shooter.
In total, you need to survive three waves in the pool:
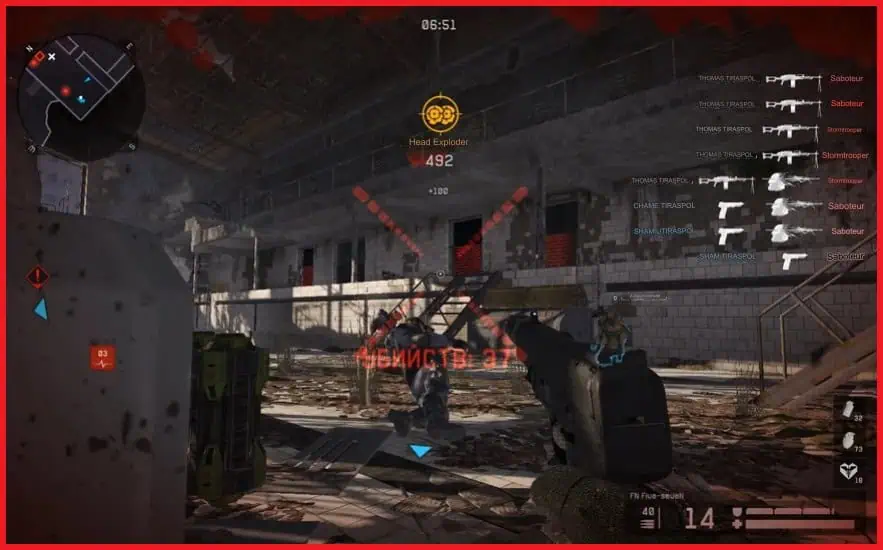
- A simple wave with Blackwood stormtroopers filled the room through the windows.
- This is a complicated wave, with different types of enemies entering the room from various sides. Controlling all the entrances and preventing a decisive breakthrough is essential.
- The most complex and most extended wave. There will be a lot of turrets on it, but it is ineffective to break only them because new ones will appear, and the wave is limited only by time. Getting rid of the usual enemies first and then moving on to the turrets is more effective. But you need to be careful, as the latter has a very high damage.
The next task is to get to the department store. The tactics are the same as those for the path between the school and the swimming pool: do not go far from the road, use shelters, smoke, and stun grenades, and gradually reach the goal. The same recommendations apply in the department store, where you must climb to the roof.
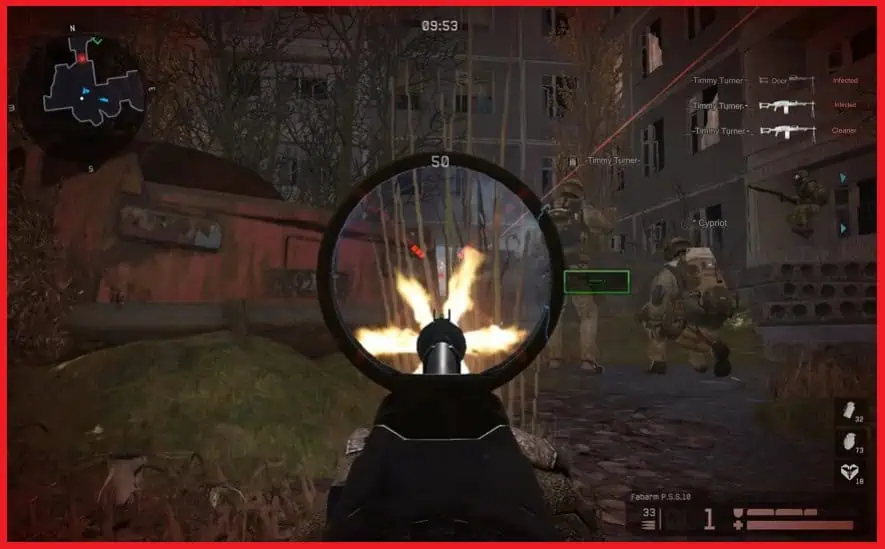
On the department store’s roof, it will remain to destroy several turrets and meet the first boss, a helicopter. He moves around the building clockwise and regularly calls for helpers on jetpacks. There is no point in shooting only at them, as they will appear until the helicopter is destroyed.
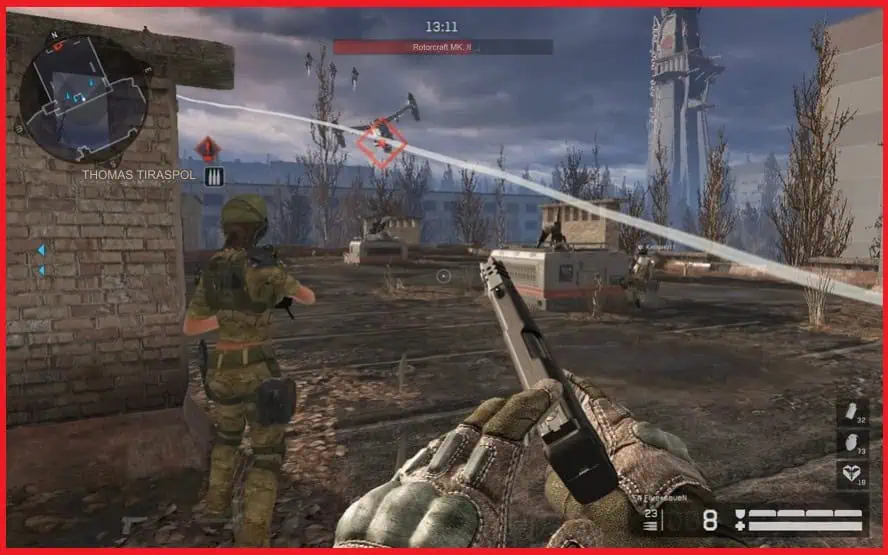
It’s best to spread out by task: two shoot only the helicopter with rocket-propelled grenades, the rest get rid of the infantrymen. As in all stages, it is important to use cover.
Stage II: Laboratory and Hotel
In the next act, you must find and destroy the Blackwood bunker. The path itself does not differ from the previous ones. But at the entrance to the laboratory, you will have to perform unusual tasks.
Players will meet several energy barriers. Behind them are enemy turrets that interfere with the passage. The shield is briefly disabled when hit by a projectile from grenade launchers. Distributing the roles on the team is necessary: someone turns off the barrier, destroys the turrets, and defends the team. You should not forget about shelters.
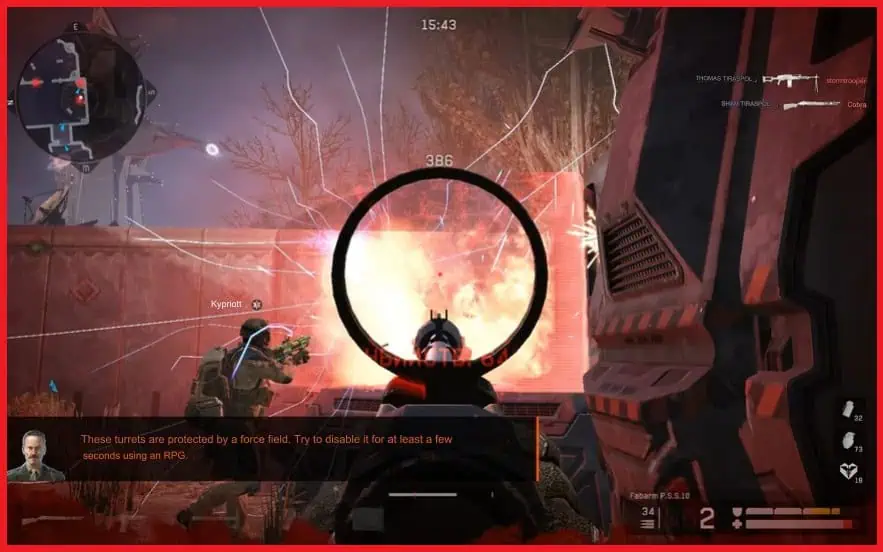
In the laboratory, you will have to eliminate new Blackwood androids. When destroying SEDs, it is recommended to follow the following tactics:
- try to get the enemy on his feet and deal significant damage with cold weapons;
- use S&W Survival Tanto knives, but don’t do more than one enhanced strike at a time;
- do not stay close to each other, as there is a high risk of not only dealing damage to allies on high difficulty levels but also falling at the same time from a massive boss attack;
- use the time when the SED has fallen off his feet to recover and regroup;
- in difficult situations, you can hide well: if the SED doesn’t see enemies for a few seconds, he will become inactive.
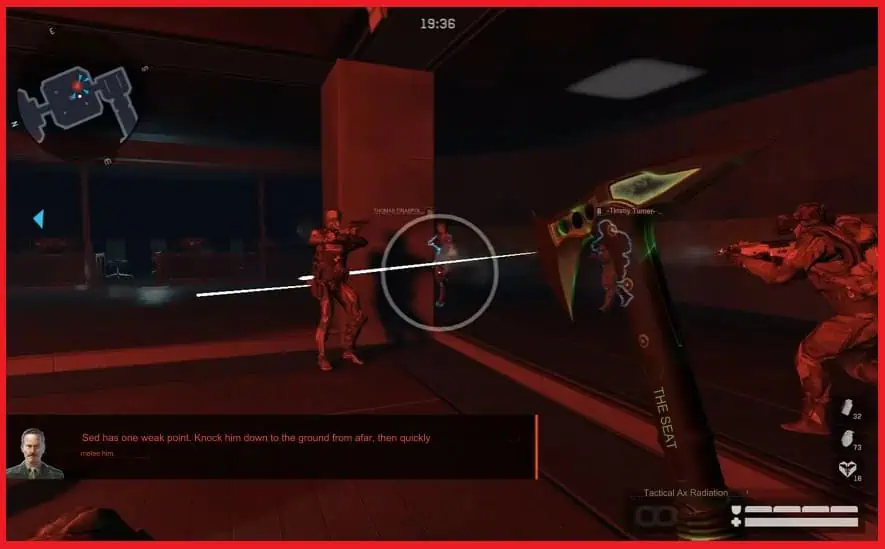
The stage will end in an inn, and the approach and passage will be built on the same principle as in the lab. But the players will finally be met by an elevator that activates the final act.
Stage III: Blackwood Tower
The last task of the Warface team in the special operation “Pripyat” is to climb to the top of the Blackwood Tower and destroy the main boss. At the stage with the elevator, the recommendations are classic: control the entire circle around the team, use cover, and do not forget about the opponents’ weak points. At the top of the tower, a considerable boss awaits the players – a battle fortress, “Mantis,” with rocket launchers and shields. Tips and Tactics:
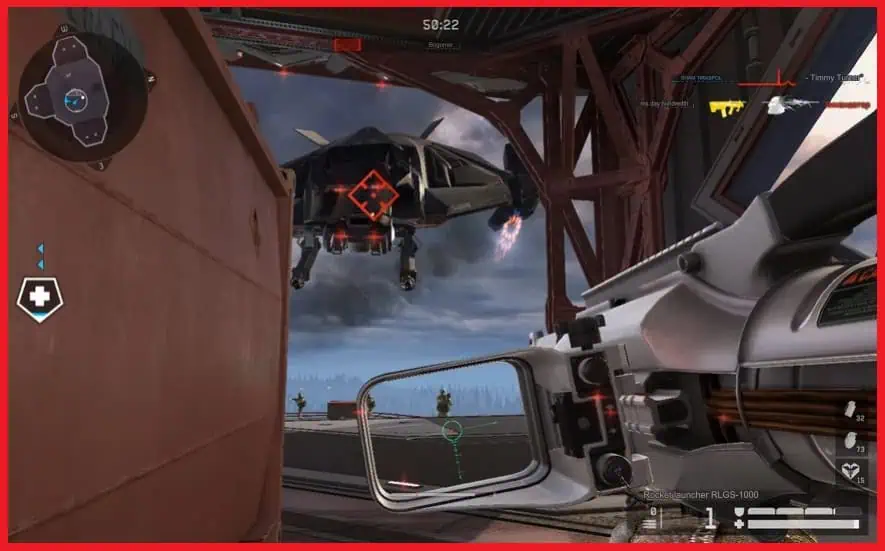
- The energy field of the object is turned off for a few seconds with grenade launchers, similar to the defense of the laboratory and hotel;
- it is not necessary to liquidate only the help summoned by the boss, as it is infinite, but it is required to provide a decent defense against it;
- in total, three grenade launchers for three fighters will appear on the roof; they will be engaged in the destruction of the boss, and the rest will provide cover;
- the first grenade launcher removes the defense field; the others deal damage;
- It is recommended that shelters and dislocation be changed only when the Mantis changes its position.


