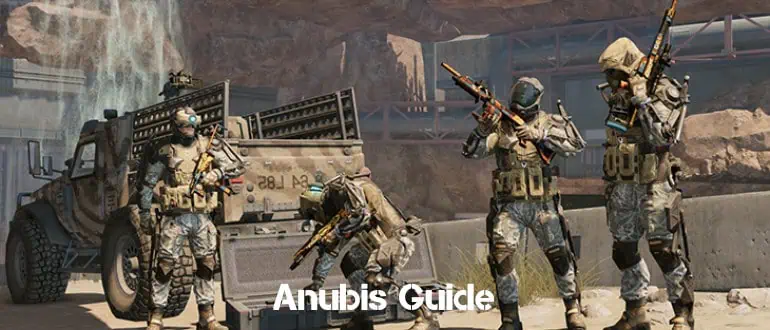
Since May 2016, players of the famous online first-person shooter game have had access to an exclusive cooperative mission about the special operation of allied agents against terrorists in North Africa. The mission immerses users in the exciting atmosphere of the fictional war in Egypt and offers excellent in-game rewards.
Below is an up-to-date 2026 review of the special operation “Anubis” in Warface, its plot, gifts and achievements, as well as a detailed walkthrough with a description of all actions and screenshots.
Gifts and Rewards
Often, players pass cooperative missions in the game not for the sake of atmosphere but to get rewards from the developers, which are difficult or impossible to earn in another way.
For passing the mission “Anubis” players do not get unique weapons, camouflages. The mission is designed to dive into the plot events of the shooter, namely the confrontation between the factions Warface and Blackwood.
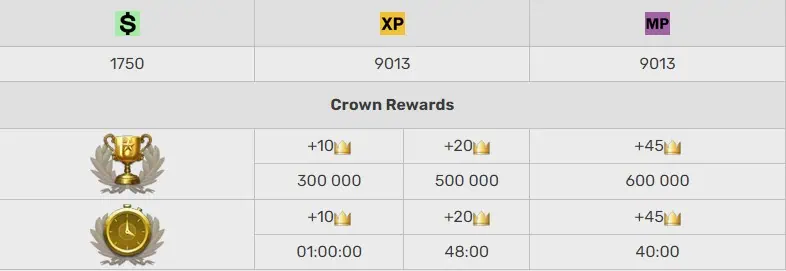
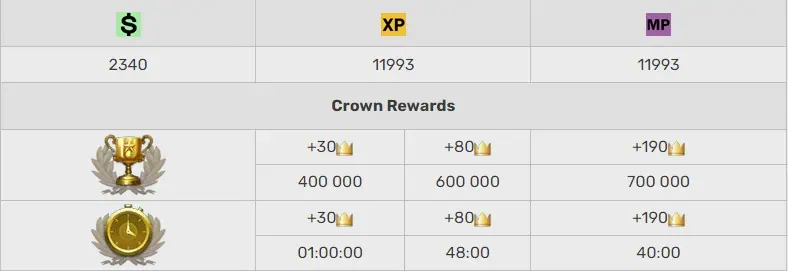
Players receive standard match rewards to complete tasks and pass the mission: combat experience, warbucks, skill points, and crowns. The amount depends on the selected difficulty level, number of kills, and time spent.
- Easy:

- Normal:

- Hard:

Special Operation Anubis Achievements

Rewards in the form of in-game currency and points aren’t the only things you can get for completing the special operation in question. Achievements are available to players in the form of badges, tokens, and patches depending on the class, difficulty level, and number of completions:
- Tokens:
- “Beginning Archaeologist” – complete a special operation at the “Easy” level ten times for one of the classes (each class has its token).
- Badges:
- “Tomb Raider” – complete a special operation at the “Normal” level five times for one of the classes (different badge for each class).
- Badges:
- “Pyramid Explorer” – complete a special operation at the “Hard” level three times for one of the classes (a different patch for each class, including SEDs).
Tasks and Missions
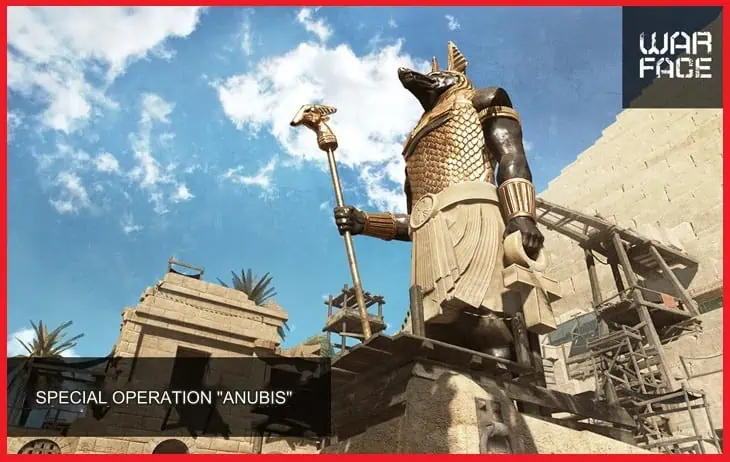
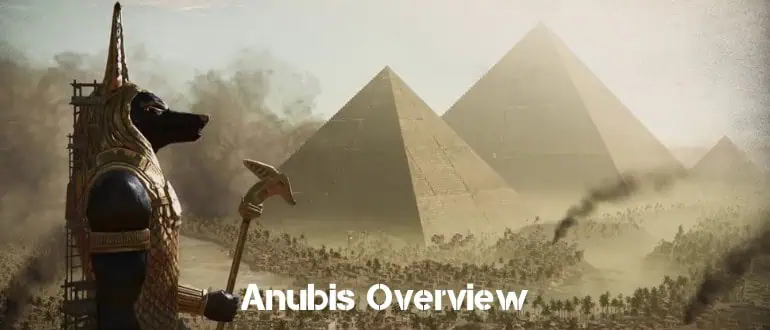
According to the mission’s plot, the best Warface agents are sent to North Africa, where Blackwood is preparing to commit significant war crimes. Players must arrive at the base unexpectedly to commit sabotage and thwart terrorists’ plans.
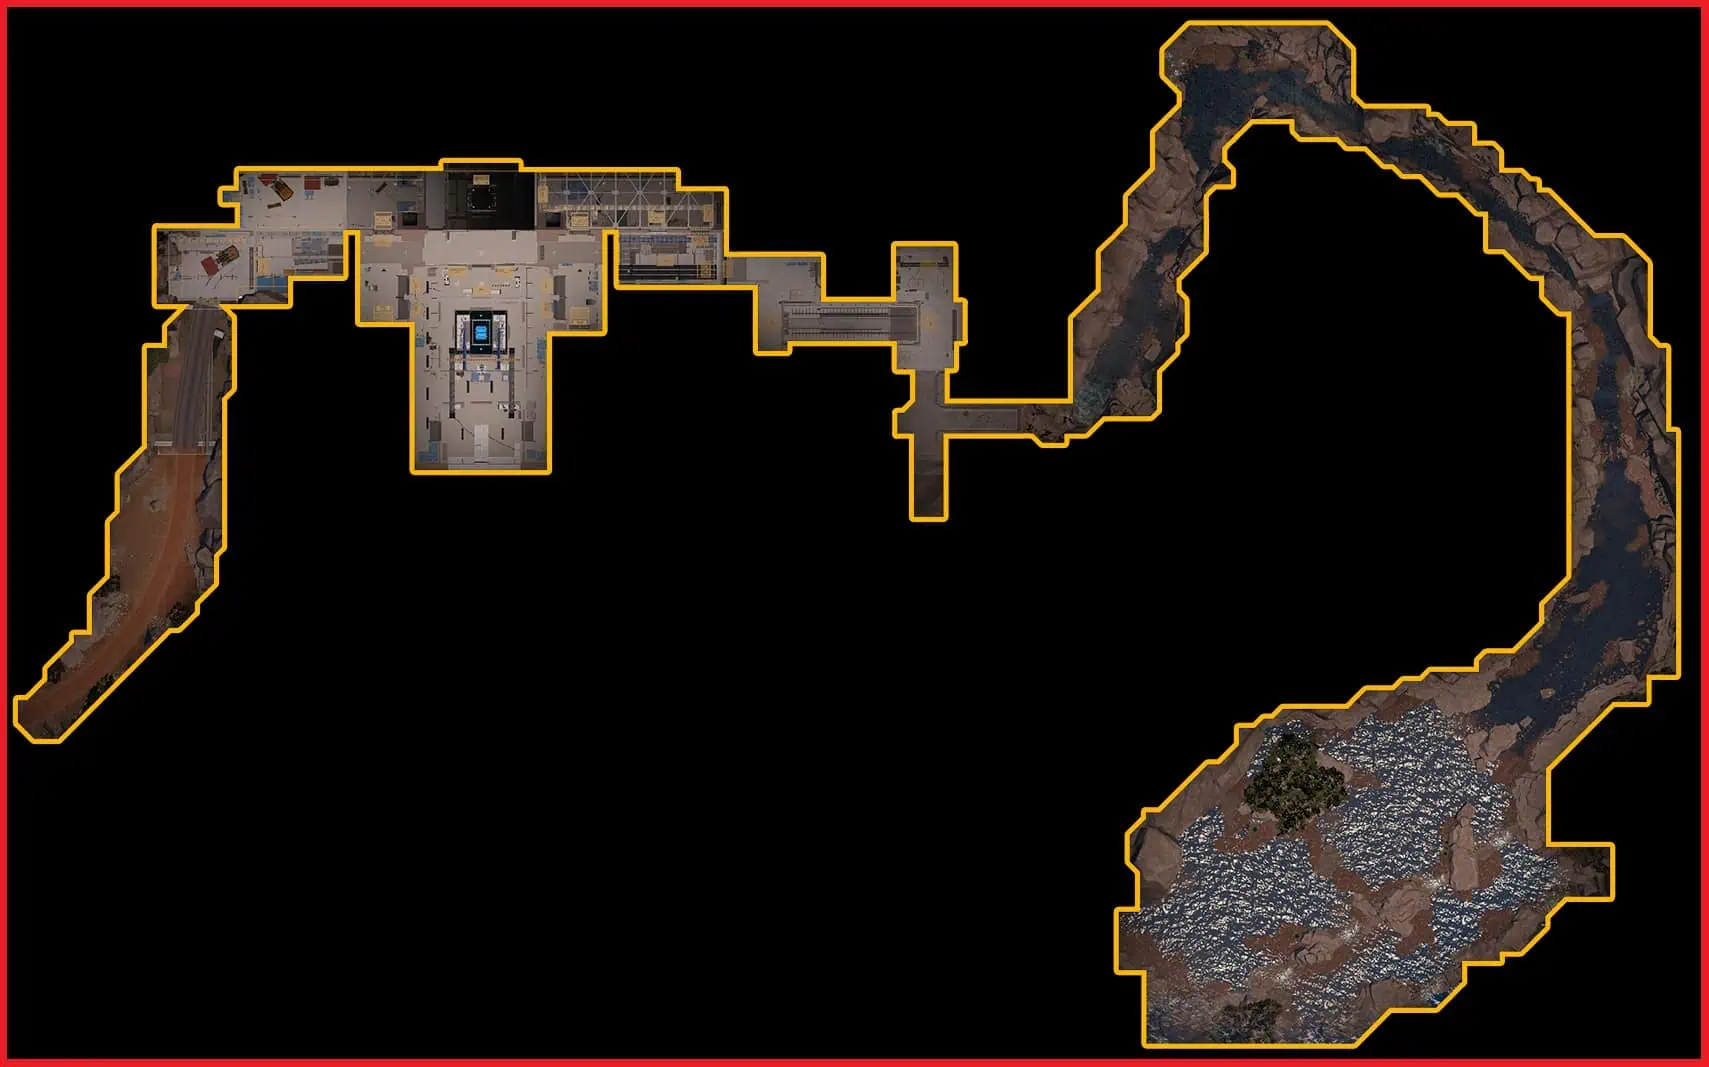
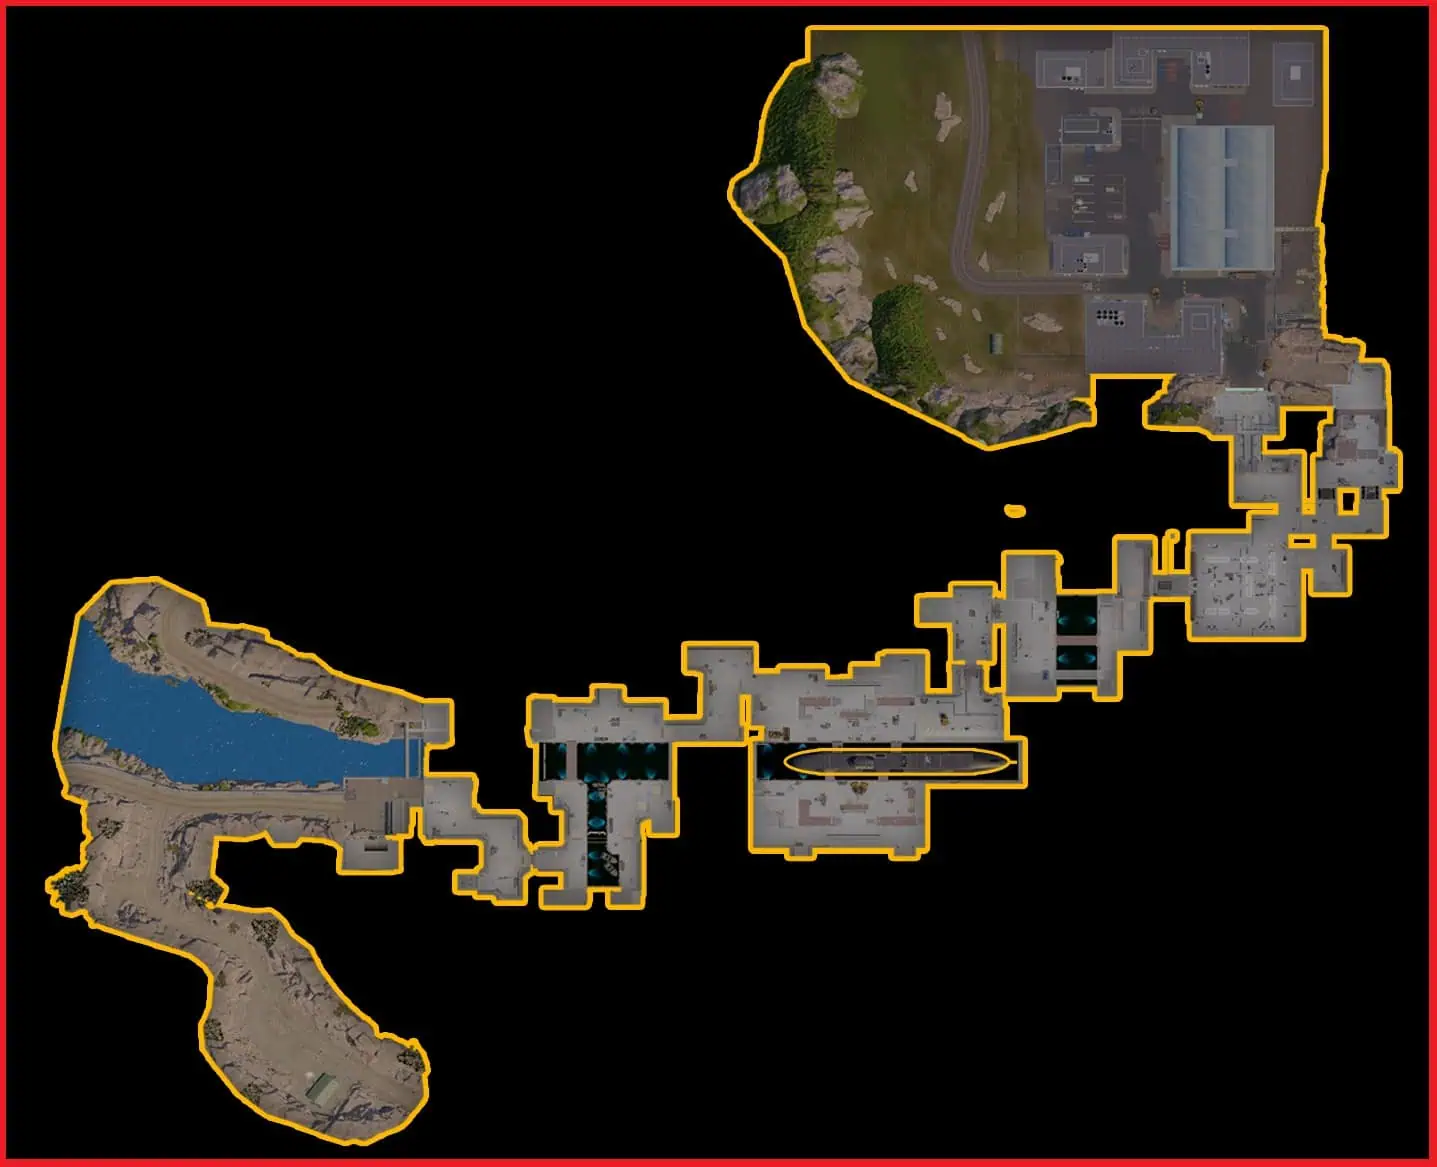
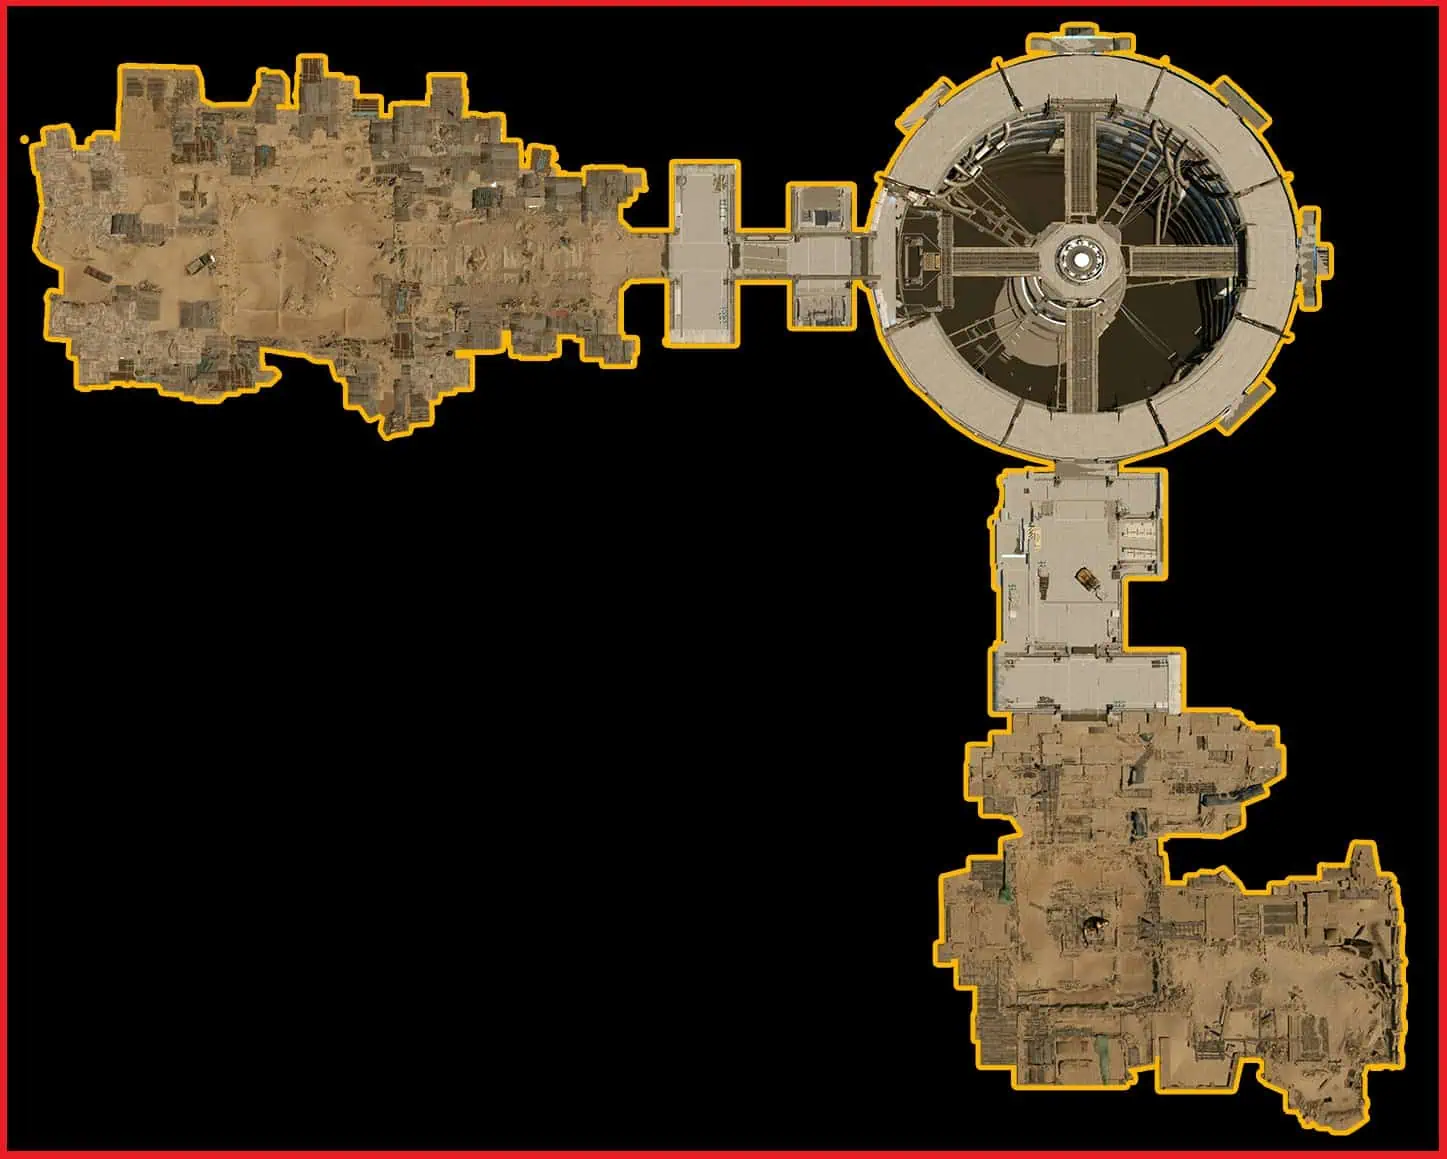
The entire special operation is divided into three major stages, each is a separate independent story with a plot, climax and denouement. Together they form a full-fledged story of the company’s adventures in Egypt.
Let’s consider a brief list of all the tasks facing the players in Anubis. Further, they will be considered in more detail with instructions for passing:
- Stage I – Canyon:
- land in the enemy’s mountainous research and production complex;
- sneak into the Blackwood base;
- clear the location and find the server room;
- download a virus to infect the opponents’ ballistic missile with the wrong executable code;
- leave the base and go through the gorge to the next stage.
- Stage II – Docks:
- surprise Blackwood by coming out of the gorge near the naval base and attacking it;
- clear the base and get to the submarine at the docks;
- place bombs on the hull of the submarine and blow it up;
- evacuation.
- Stage III – Pyramid:
- determine the location of Blackwood’s main base in North Africa;
- find the entrance to the pyramid;
- clear the location;
- overload and turn off the power unit of the cyborg factory.
General Tips for Completing the Special Operation
Before moving on to a detailed step-by-step walkthrough of Special Operation Anubis, here are some essential tips for combat preparation. They may not be necessary at the first difficulty levels, but winning at the “Hard” level is almost impossible without them.
- Optimal team composition:
- two stormtroopers;
- a sniper;
- two medics.
- Experienced fighters can neglect the medic and take more snipers, but more medics are almost always needed when difficulties arise.
- Recommended equipment:
- zombie submachine guns for stormtroopers;
- any PvE weapon with increased ammo and AI damage;
- Use the best armor in the arsenal.
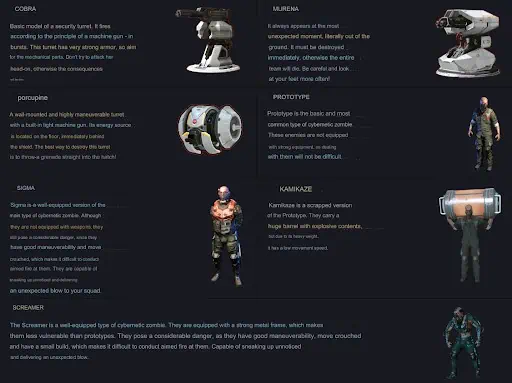
- It is better to familiarize yourself in advance with the list of opponents in the special operation, especially bosses. This will help to prepare competently and find the weaknesses of difficult enemies in advance.

- You can cope with the “Easy” and “Normal” tasks by playing with random allies. But if you plan to pass a special operation at the “Hard” level, you will need a team of friends with coordination and relevant experience.

Step-by-Step Walkthrough of Special Operation “Anubis”
Now, let’s look at the detailed passage of the mission, which includes a description of actions at all stages and screenshots for clarity. For convenience, it is divided into acts corresponding to the story arcs.
Stage I – Canyon

The special operation begins with landing in the mission area. Already on the approach, you will be spotted by the enemies, so you must shoot back from the helicopter. There are no unique recommendations here – only accuracy is essential.
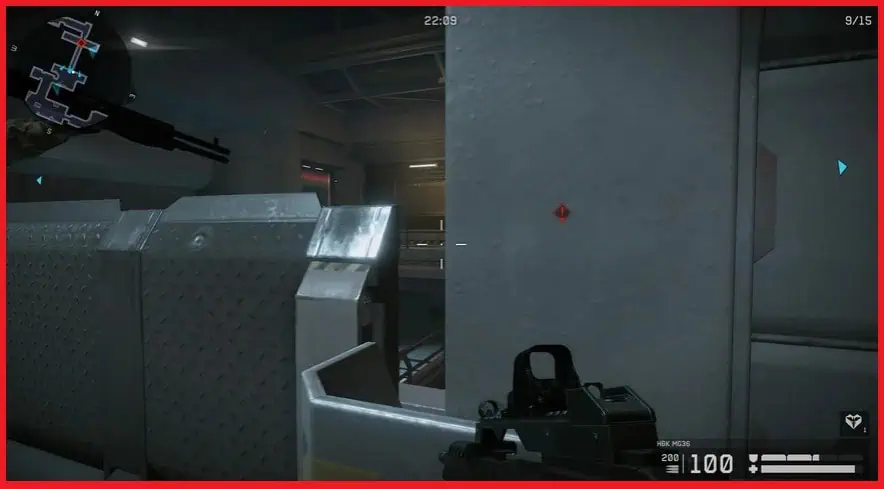
It would help if you did not hurry after landing. Two highly damaged turrets guard the entrance to the industrial base, and players will still need health. Therefore, it is necessary to hide behind the rocks on the left and not let the artificial intelligence of turrets detect you. After that, carefully eliminate them with a sniper.
Walking through the base corridors, keep to the left side just as neatly and without losses to eliminate two more turrets in the following rooms. Each of them has a blind spot.
Continue to the glass room where the disable panel is located. Activate it, then hide behind the racks next to it to get into the blind spot of the new Porcupine cannons: they will appear in the room after activating the button. Another turret will be waiting after turning left. To eliminate it without wasting your health, carefully peek out from around the corner, take a few shots, and hide back.
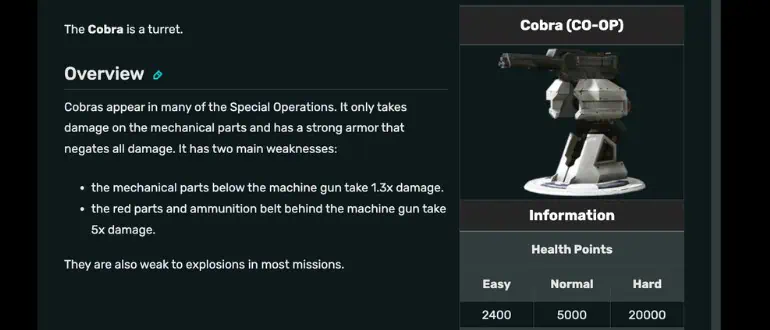
Then everything is simple, as in the beginning—you need to clean up the enemies in the location. It is best to spread out over it to open enemies’ backs with shields. In the end, another porcupine waits at the elevator; his blind spot is behind the yellow railing.
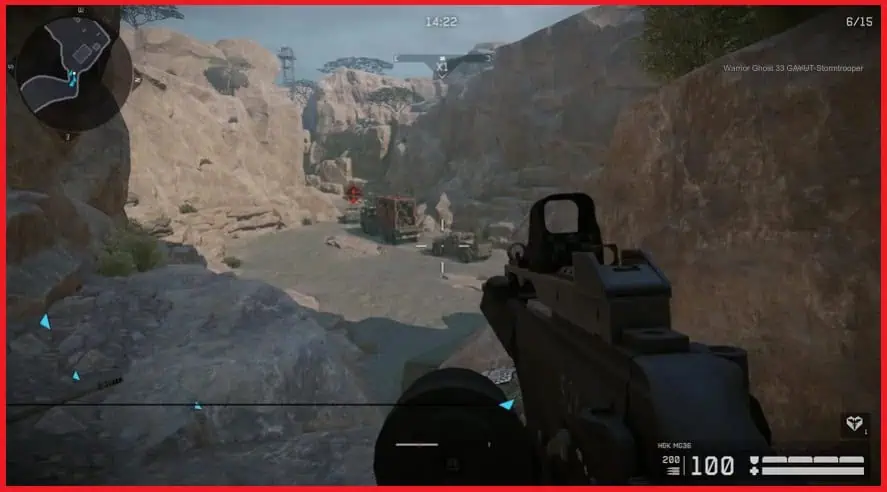
After the elevator, there is a corridor; you should not hurry to enter it, as there is a narrow space and many enemies with shields. Instead, it would help if you lured them out, eliminated them in the free space, and then moved on to the canyon.
There are no unique tactics for passing through it – you should stick together, cover each other’s backs, and slowly move forward. But there is a difficulty – camouflaged mines. It is necessary to watch them and explode them with a shot before the approach.
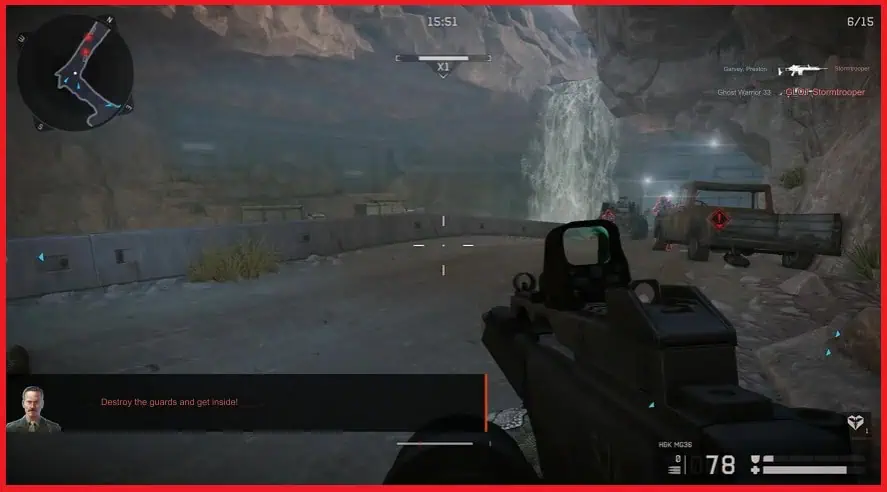
On this principle, you must reach the stage’s end, killing all opponents and avoiding mines. It is worth paying attention to the shooters on the rocks, especially the machine gunner on the hilltop near the end of the act. It will be completed when you get as close to the waterfall as possible.
Stage II – Docks

The first stage was reasonably easy relative to the following stages; it can be easily handled even at the “Hard” level with an incomplete team. The hardest part starts at the docks.
After the act starts, go down to the tent and clear it, then hide behind the truck near the road. You can shoot off most interfering enemies on the rocks and move on from this position.
In this place, it is essential to use all available hiding places: rocks, stones, barrels, and broken cars. The bots will quickly eliminate you if you run in the open along the road. There is no point in hurrying because there will be a lot of enemies, and so they will be behind the backs of allies. Therefore, it is necessary to advance gradually.
Soon, the team will reach a gorge, on the other side of which there will be many snipers. The most effective way to fight against them is by using a sniper. The rest of the team should hide behind an old pickup truck and cover it from the enemies on this side.
After that, the team passes inside the Blackwood naval base, where a massive wave of enemies is expected to run towards it. Therefore, it is necessary to immediately take favorable positions at the passage and on both sides.
Thus, those on the left of the passage can shoot off those running to the right. And vice versa. You should also look into the room in advance and blow up fuel tanks near the passageways from where the enemies are running. This will help not only to get rid of them quickly but also to protect yourself in the future.
One player, preferably a stormtrooper or sniper, should be sent to the next spacious hall. He will hide behind the column on the right and get rid of the next turret because this is its blind spot.
Careful play has ended; you must haste to pass to the following location. If you stay in this location too long, the enemies will bypass you from both sides. Therefore, it is recommended to move on quickly; light-noise shells can help.
You can deal with all the bots when you break out of the pincers and protect your back.
Please get to the moment when it will be possible to go down the stairs. At this point, once again, return to careful play without rushing. Going down there is recommended only at the end when all the enemies will be eliminated, and the location will be calm. Otherwise, you will find yourself in a ring, and the entire team will quickly be killed.
The game will offer to constantly move forward, but this is almost guaranteed to lead to defeat. The main tactic at this stage is to fight only from cover and move forward only when all enemies are killed and there will be silence.
At the end of this location, you need to place explosives on the submarine and start evacuating the naval base.
Near the collection point marked with a yellow marker, you need to hide behind crates and fight off waves of enemies. After that, you can climb the ladder and hide behind other boxes. A little farther away, there will be another turret. It would be best to destroy it using standard tactics—hide behind the wall, look out, and deal damage.
Next is another staircase, after which you must lower and cross the bridge. But, as almost always in this special operation, you should not be in a hurry. On the opposite side, strong turrets will appear. As shown in the screenshot below, you must hide behind the partition and shoot at it in the gap between it and the wall.
This will require two stormtroopers. The rest need to control the doors through which other bots can come.
Once you finish this, you can lower the bridge and go to the other side. There, it is recommended that you immediately turn left, walk a bit, and kill the bots from above.
Ahead of the primary battle of this act. Therefore, at the terminal, one immediately needs to take favorable positions:
- Sniper and the first stormtrooper stand near the terminal in a cross-to-cross pattern to cover each other and instantly eliminate the turrets that will appear at the beginning of the battle.
- The second stormtrooper hides behind a panel near the red-marked passage – this is his shooting zone.
- The remaining fighters cover the team’s rear, namely the passageways through which the team got here. Also, if they are medics, they must run up to their allies and heal them periodically.
This is the best moment in the special operation to use fragmentation and smoke grenades.
After success in this battle, the only thing left to do is to leave the building. It is recommended to press yourself against the right wall, so that snipers from the roof can not hit you. By this route you can run to the end of the act without losses.
Stage III – Pyramid

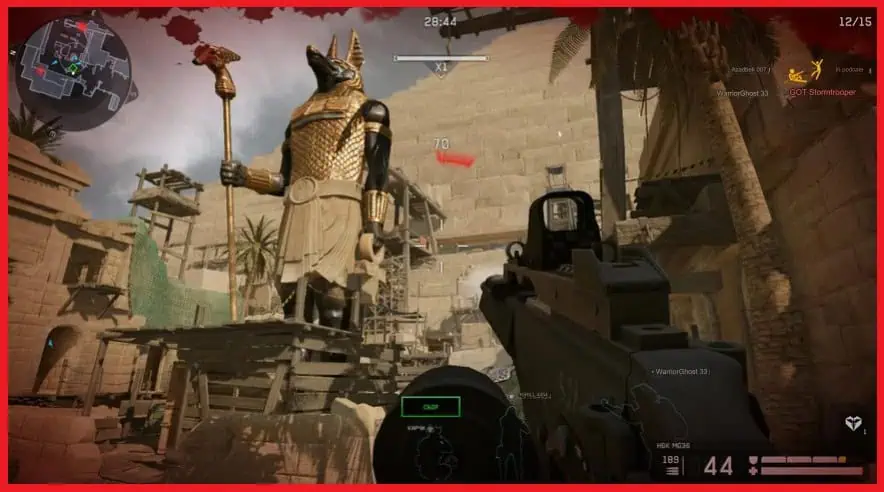
The final most exciting act, in which it will become known why the particular operation is called this way. The command will drop you near the statue of Anubis and the pyramid. It is necessary to clear the location and move towards it.
For a few minutes, you will have to defend near the statue, while in the story, the command will look for an entrance to the main base of Blackwood. Here, it is necessary to position yourself properly:
- The first stormtrooper – under the statue – shoots at enemies behind it and to the right;
- The second stormtrooper – to the left of the statue – shoots at all targets from below;
- Medics – to the left and right of the statue – heal everyone as needed;
- Sniper – 3-5 meters from the statue – looks at the pyramid and shoots at all targets on the high ground.
When the location is cleared, access to the pyramid will open. Here, you can move leisurely to the marker, shooting small groups of new enemies.
After entering the pyramid, the first turret will appear. The blind spot is to the right of the entrance. There will be a few more automatic cannons in the next room, but they will appear only at the entrance. Therefore, one of the players should run in there, initiate the turrets’ spawn, and run out. Afterward, they can be safely blown up from their hiding places.
Next, you need to activate the terminal several times. With the first two, everything is simple; you need to play carefully, use the shelters, and cover each other’s backs.
It is not recommended that the third terminal be activated immediately, as there is a difficult battle ahead, and you must prepare for it. The whole team bypasses it and stands near the energy barrier, where there is a passage. Next, distribute the positions:
- Sniper – to the left of the passage – controls the terminal room;
- Medic – in the passage – kills zombies running into the hall;
- The rest – to the right of the passage – control the central platform and the grenade launcher in the distance.
In the next room is the final battle, consisting of three waves of simple bots, including kamikazes. They are the first thing to worry about – with one explosion they can get rid of the entire team. It is recommended to either scatter around the location, but then it will be more difficult to control it, or gather all together in one corner, but first of all shoot all the kamikazes, not letting them get too close.


